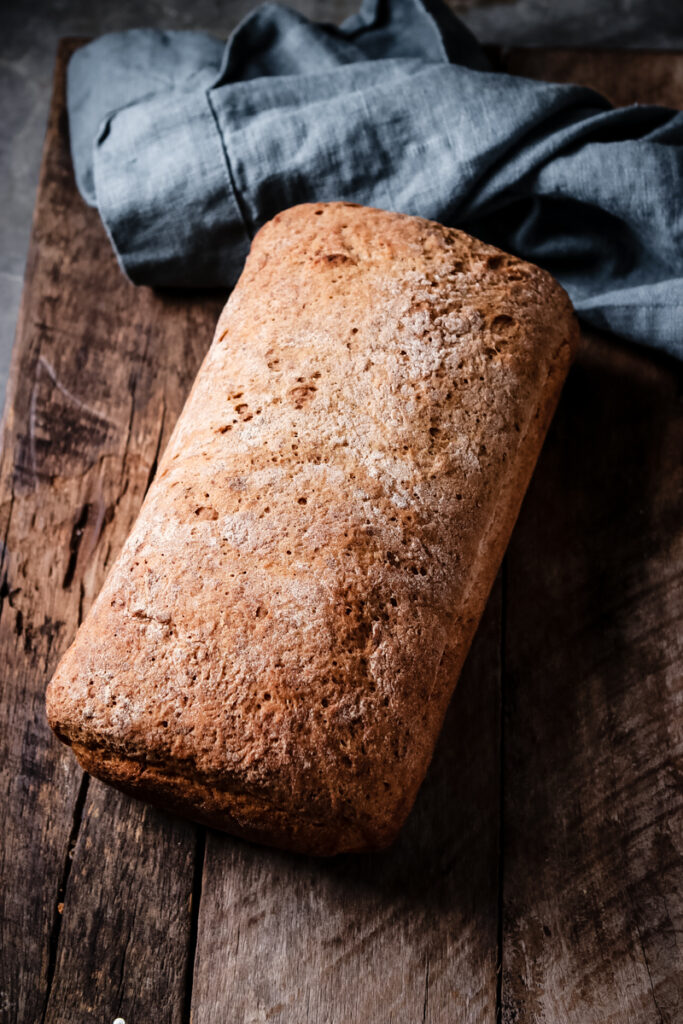
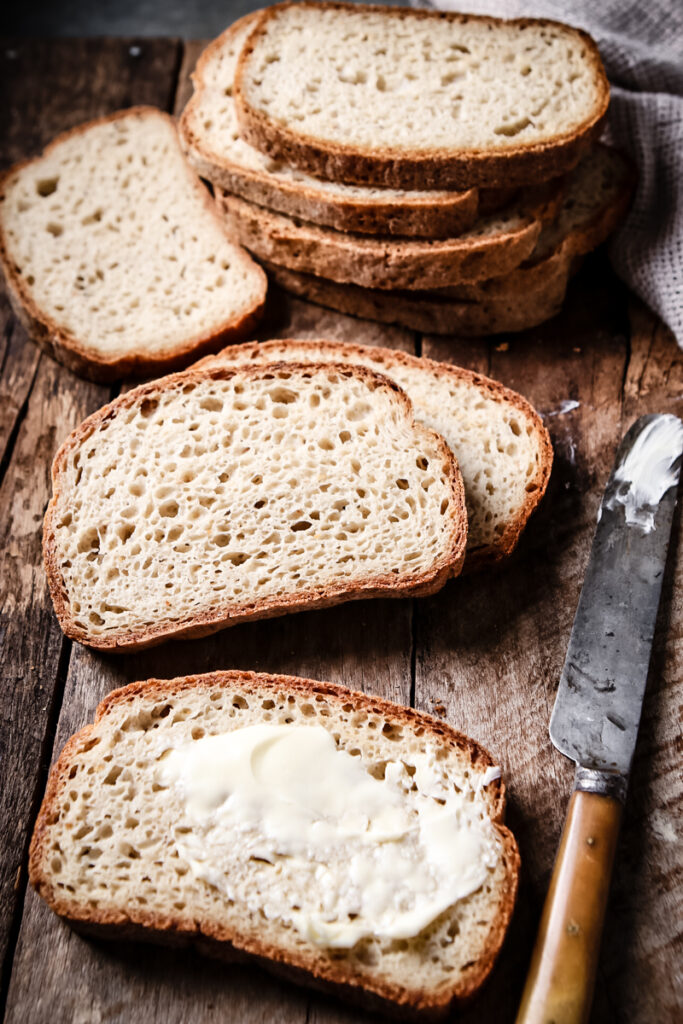
Saying that something is “the best” is bandied about to the point it’s hard to be taken seriously. I rarely use the term although it does score better in an online search, so when I state this is The Best Gluten-Free Sandwich Bread, take comfort in the fact it most certainly is the best – it’s the best I’ve ever eaten. Gluten-free bread is very lack-luster. Not this gluten-free bread: it has a crunchy crust and a soft, chewy interior. And it doesn’t take a day to make or require constant attention. It’s simple to make. But be warned, follow the recipe to the letter initially before making any tweaks.
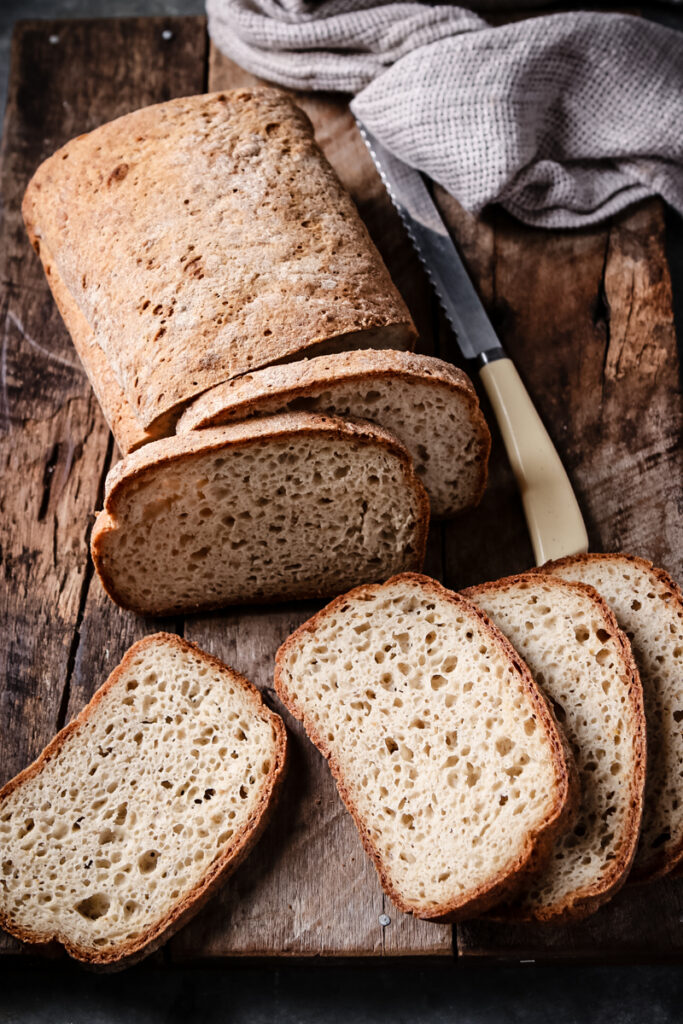
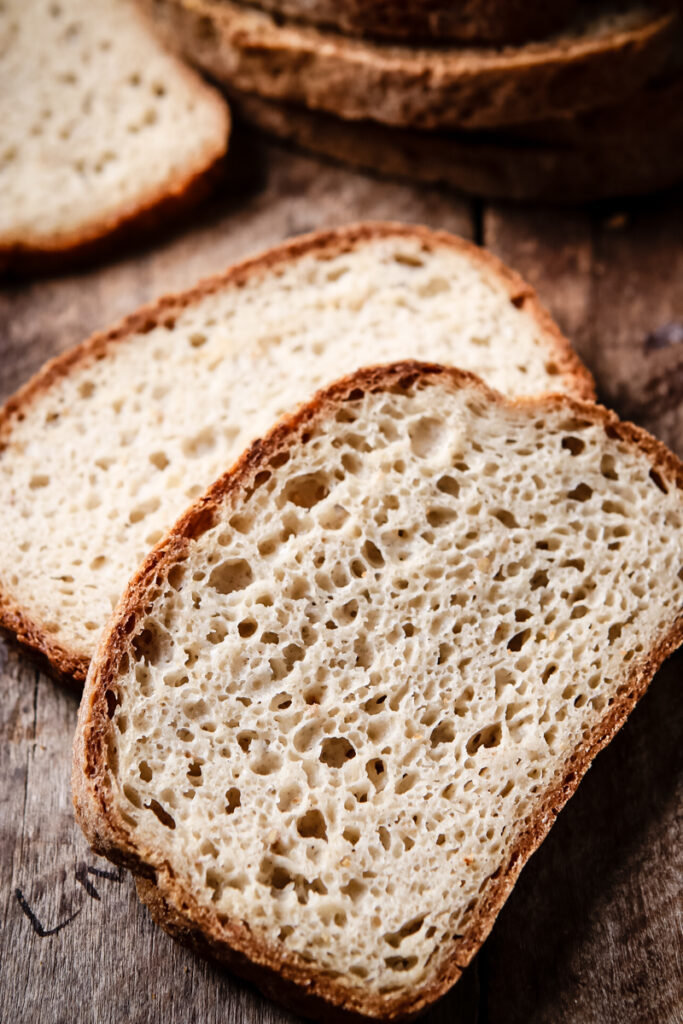
This is an adaptation from a wonderful cookbook called ‘Cannelle et Vanille Bakes Simple’ but author Aran Goyoaga. I’ve made it at least 20 times and have it to the point where it works well for me. Initially the dough was far too wet and unmanageable even with careful weighing of the ingredients. Trial and error have produced what I think, is a bread you’ll love. Just don’t skip any ingredients. It is a wet dough. I used to add more flour because I thought it too wet but now I just scrape the dough into the pan. Because the dough is so hydrated it forms a myriad of holes, making it appear rustic. A bit like a really great sourdough.
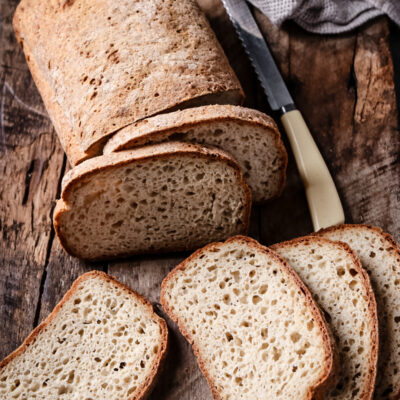
THE BEST GLUTEN-FREE SANDWICH BREAD
Ingredients
- 2 1/2 cups distilled or purified water
- 1 Tbsp active dry yeast
- 1 Tbsp honey
- 2 Tbsp psyllium husk powder
- 1 Tbsp ground golden flax seed*
- 1 Tbsp apple cider vinegar
- 1 1/2 cups superfine brown rice flour plus extra for dusting
- 1 cup sorghum flour
- 1 cup tapioca starch
- 1 Tbsp 3 tsp fine sea salt
Instructions
- Prepare a 9 x 5-inch (24 –x 13cm) loaf pan by greasing the pan and lining the base and sides with parchment paper.
- In a 4-cup measuring jug or a bowl, combine the water, yeast and honey. Let stand for 10 minutes until the mixture is frothy. This is how you know if the yeast is fresh.
- Add the psyllium, flax and vinegar and stir to combine. Let stand to thicken and gel for 5 minutes.
- In the large bowl of a stand mixer, combine both the flours, starch and salt on a low setting.
- Add the yeast mixture, scraping all the ingredients from the cup into the flour mixture. Beat slowly at first, stopping the machine to scrape down the side of the bowl. When the ingredients are combined, beat on medium-high for two minutes to ensure the ingredients are well mixed.
- Sprinkle a little extra brown rice flour on a clean counter and turn the dough out onto the counter. Shape the dough into a roughly, 8 to 9-inch loaf and carefully lift into the loaf pan. Grease a piece of plastic wrap on the counter and spray or brush it with a non-stick spray or oil. Cover the loaf pan with the plastic wrap and place in a warm place for 45 minutes.
- Meanwhile, turn the oven to 425°F (220°C). When the bread has risen, carefully remove the plastic wrap and bake, uncovered for 1 hour. Carefully remove the bread and the parchment paper from the bread, and bake the bread on the wire rack in the oven for a further 20 minutes or until a deep golden-brown and the bread sounds a bit hollow when tapped.
- Cool the bread completely on a wire rack – don’t be tempted to cut it until it’s cold. When completely cold, using a good serrated knife, cut the bread into slices of your desired thickness. To store, I cut pieces of parchment paper and place between each slice before placing the loaf into a plastic bag and freezing up to 3 months. Thaw before serving. This bread is especially good toasted. Cuts into about 12 to 14 slices depending on thickness. Will make 6 to 7 sandwiches.
- *I buy whole flax seeds and grind them using a small blender attachment. I use golden flax although I’m sure the deep brown flax seed would work just the same.
